Soak It In: Installing Your Freestanding Bathtub
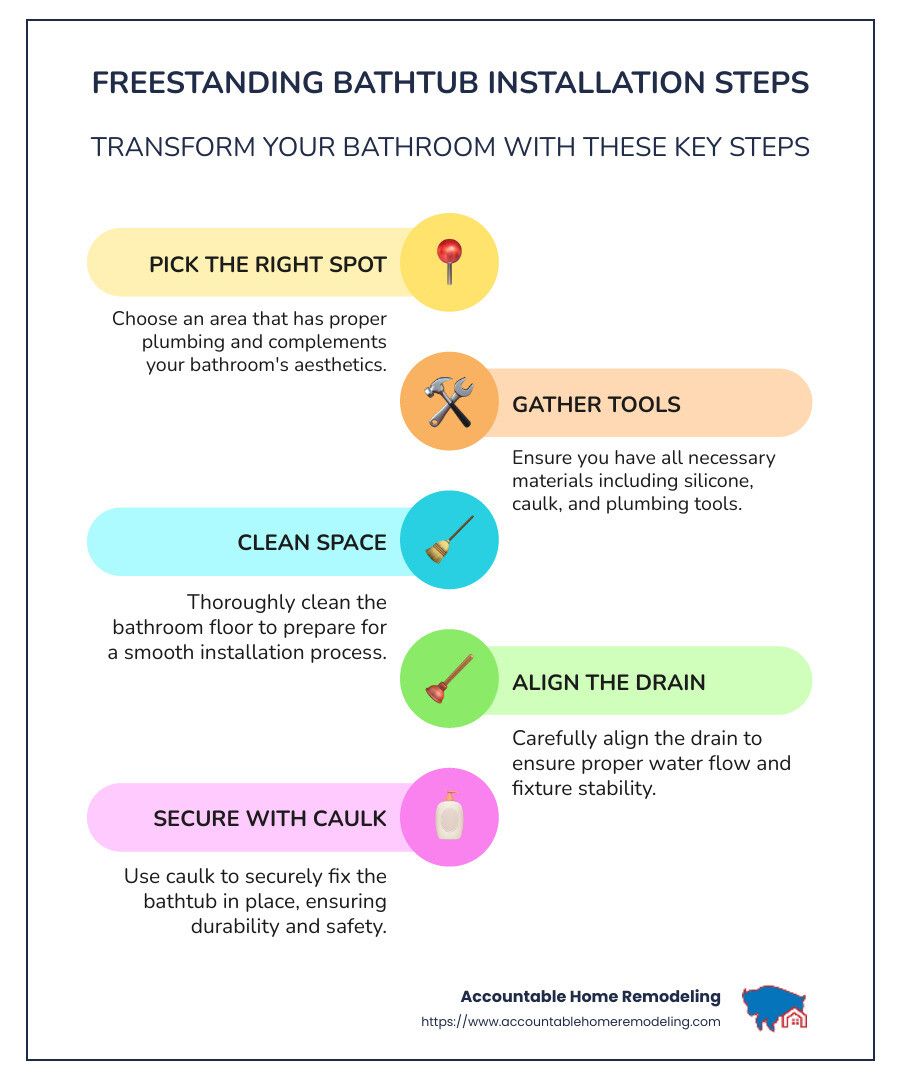
Freestanding bathtub installation is a straightforward way to transform your bathroom into a luxurious haven of relaxation. Here's a quick snapshot to get started:
- Pick the right spot: Choose an area with proper plumbing and aesthetics.
- Gather tools: From silicone to caulk, be prepared with all necessary materials.
- Ensure a clean space: Clean the bathroom floor to avoid any interruptions during installation.
- Align the drain: Proper alignment is key for this sleek addition.
- Secure with caulk: Keep your bathtub securely in place.
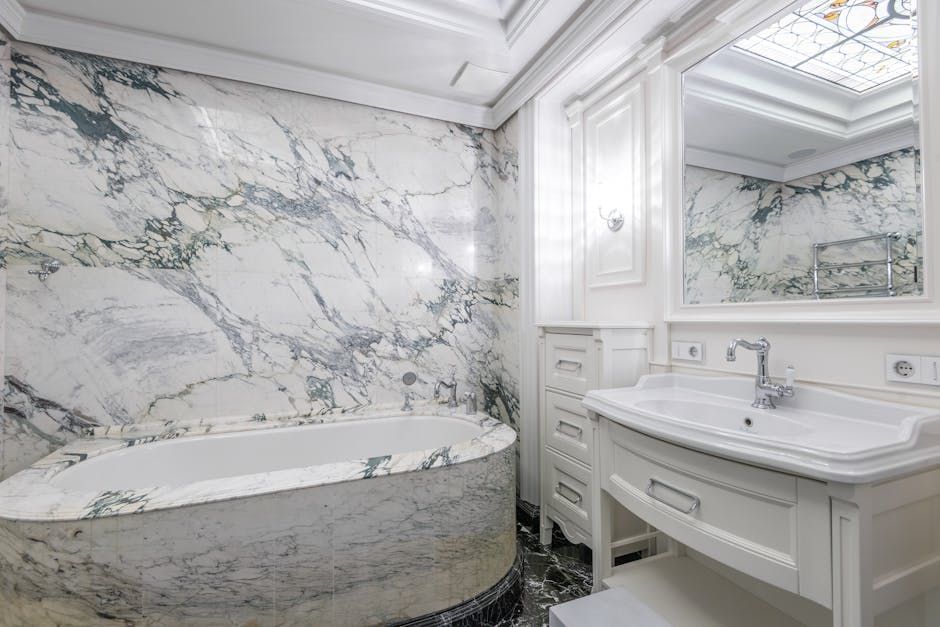
Imagine stepping into your bathroom after a long day and sinking into the soothing accept of a freestanding bathtub. This neat centerpiece not only lifts the aesthetic of your space but also offers a retreat from the hustle and bustle of life.
A freestanding bathtub is more than just a bathroom fixture; it's an invitation to unwind and de-stress. This easily installed feature can turn any ordinary bathroom into a spa-like sanctuary, redefining your home experience.
Tools and Materials Needed
Getting ready for a freestanding bathtub installation? Here's a handy list of tools and materials you'll need to make the process smooth and efficient.
Cleaning Materials
Before you start, ensure your bathroom floor is spotless. Use rags and plastic sheets to protect and clean the area. A clean floor prevents debris from causing issues during installation.
Level
A level is crucial to ensure your bathtub sits perfectly flat. Without it, you risk water pooling in unwanted areas, which could lead to leakage or even damage.
4x4 Lumber
You'll need 4x4 lumber to support your bathtub during installation. This helps keep the tub steady while you align the drain and secure it in place.
Drop-in Drain
If your bathroom doesn't have an existing drain, a drop-in drain is essential. It provides a pathway for water to flow away from your tub, preventing any unpleasant surprises.
Caulk
Caulk is your best friend when it comes to sealing. It helps prevent water from seeping into unwanted areas, keeping your bathroom dry and your tub secure.
Plumber Putty
Similar to caulk, plumber's putty seals joints and connections. It's especially useful for ensuring tight seals around the drain and other plumbing fixtures.
Silicone
Silicone is used to fix the bathtub securely to the bathroom floor. It offers flexibility and strength, ensuring your tub stays put even after years of use.
Pipe Pieces
Ensure you have all necessary plumbing pipes and fittings. Your bathtub provider should supply these, but double-check to avoid any missing components.
Protective Blanket
A protective blanket shields the tub's sides during installation. This prevents scratches and damage, keeping your new bathtub looking pristine.
With these tools and materials in hand, you're well-prepared for a successful installation. Next, we'll dive into the steps to transform your bathroom with a freestanding bathtub.
Preparing for Installation
Before diving into the freestanding bathtub installation, proper preparation is key. This ensures a smooth process and prevents future issues. Let's walk through the essential steps to get your bathroom ready.
Slope
First, check the slope of your bathroom floor. A proper slope is vital to ensure water flows towards the drain efficiently. Use a level to check both vertical and horizontal aspects of your floor. If your floor lacks the correct slope, water might pool, leading to potential blockages and costly repairs.
Placement
Deciding where to place your freestanding bathtub is crucial. These tubs offer flexibility in placement, allowing you to position them in corners, against walls, or even in the center of your bathroom. Consider the aesthetics and practicality of each option. Ensure proper plumbing access at your chosen location. If plumbing adjustments are needed, it might be wise to consult a professional.
Clean Bathroom Floor
A clean installation site is essential. Before positioning your bathtub, thoroughly clean the bathroom floor. Remove any dust, debris, or obstacles that could interfere with the installation. Use rags and plastic sheets to protect the floor during the process. A clean surface not only makes installation easier but also prevents debris from getting trapped underneath the tub.
With these preparation steps complete, you're ready to move on to the actual installation. Proper preparation sets the stage for a smooth and successful bathtub installation, ensuring your new bathroom feature is both functional and beautiful.
Next, we'll guide you through the detailed steps of installing your freestanding bathtub.
Freestanding Bathtub Installation Steps
Installing a freestanding bathtub can be a rewarding DIY project. Follow these steps to ensure a smooth installation process.
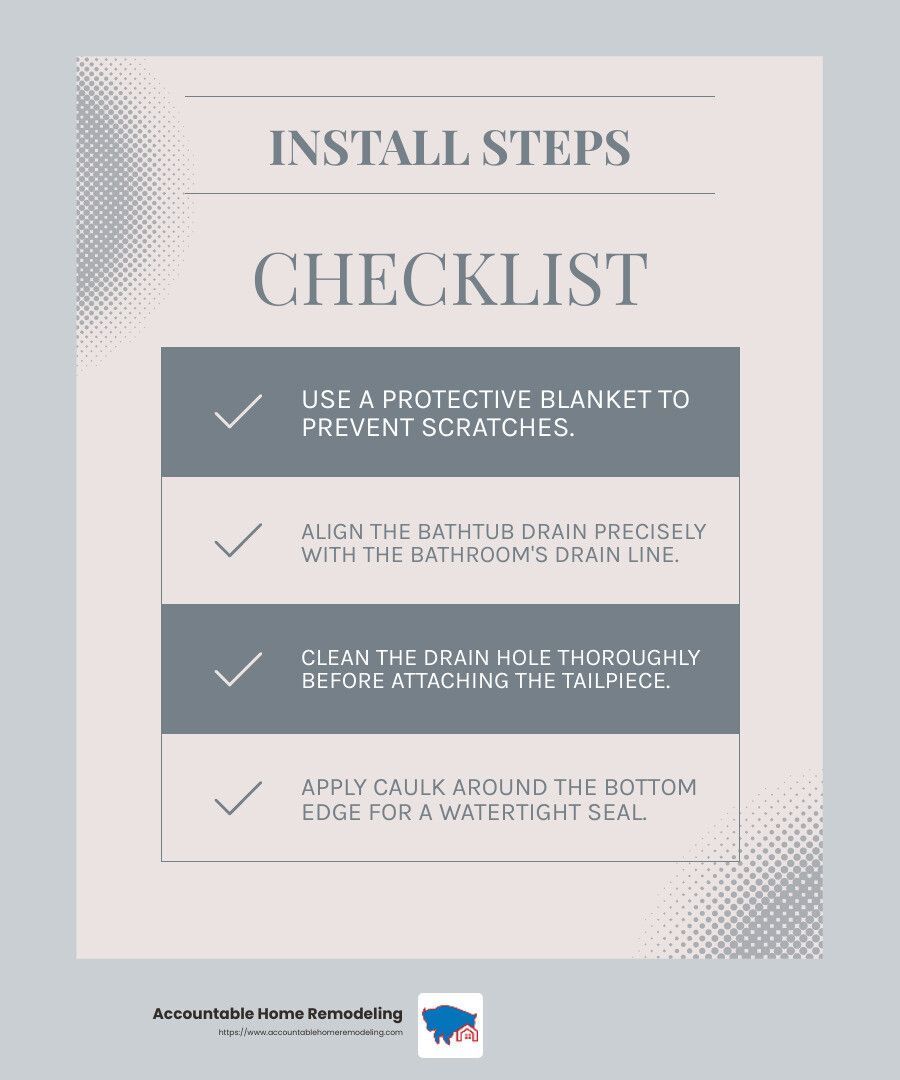
Protective Blanket
Start by placing a protective blanket on the floor where you'll install the bathtub. This prevents scratches and damage to the tub during installation. It also keeps the surrounding area clean and free from debris.
Align the Drain
Next, position the bathtub on top of a 4x4 lumber to lift it slightly. This makes it easier to work on the drain alignment. Align the bathtub drain with the bathroom's existing drain line. Proper alignment is crucial to avoid leaks and ensure efficient water flow.
Drain Kit
Most freestanding bathtubs come with a drain kit. If yours doesn't, purchase one separately. Install the drain kit by popping it into place and aligning it with the bathroom drain. Tighten the drain nut securely to prevent leaks. Clean any factory dirt or debris from the bathtub’s drain to ensure a tight seal.
Clean Drain Hole
Before attaching the drain tailpiece, clean the bathroom's drain hole thoroughly. Use a damp cloth to remove any dirt or debris. Once clean, apply a small amount of clear silicone around the underside of the pipe flange. This helps create a watertight seal.
Attach Drain Tailpiece
Attach the drain tailpiece to the bottom of the bathtub. Place a rubber or plastic bushing at the top of the tailpiece and screw the drain nut up the tube. This secures both the bathtub’s drain and the tailpiece. Add lubricant to the seal to further prevent water leakage.
Caulk
Finally, apply caulk around the bottom edge of the bathtub. Carefully remove the lumber support and lower the tub to the floor. Use a damp cloth to wipe away any excess caulk and ensure a clean finish. Plumber putty can be used to seal the tub drains and the floor.
With these steps complete, your freestanding bathtub is ready for use. Allow 24 hours for the caulk and lubricants to set before filling the tub with water. This ensures everything adheres properly and prevents leaks. After waiting, fill the tub and check for any signs of water leakage. If all is well, enjoy a relaxing soak in your newly installed bathtub.
Now that your bathtub is installed, let's move on to some essential maintenance tips to keep it in top condition.
Tips for Maintaining Your Freestanding Bathtub
Now that you've successfully installed your freestanding bathtub, it's crucial to keep it in top shape. Here are some simple maintenance tips to ensure it stays pristine and functional for years to come.
Clog Prevention
Clogs can ruin your relaxing bath experience. Regularly check the drain for hair and debris buildup. Use a small stick or a drain snake to remove any blockages before they become a problem. Keeping your drain clear ensures efficient water flow and prevents unpleasant odors.
Mild Cleaning
To maintain your bathtub's shine and prevent surface damage, use mild cleaning products. Harsh chemicals can cause scratches and dull the finish. A gentle cleaner will help preserve the tub's beauty and remove any surface-level scratches.
For more stubborn stains, mix water and diluted bleach in a 10:2 ratio. Apply this solution to the tub's surface and let it sit for 15-20 minutes. This method is effective for removing surface stains without damaging the tub.
Rust Check
Rust can be a silent destroyer. If you notice any rust or grease in your water, check the heater or faucet immediately. Rusty water can stain and damage your bathtub over time. Regularly inspect these components to ensure your water remains clean and safe for use.
Sanding
For minor scratches or surface imperfections, sanding can be a quick fix. Use 400 or 600 grit sandpaper for a smooth finish. If you need a more refined touch, 800 grit sandpaper can polish the surface to perfection. Always follow up with a damp cloth to remove any dust and reveal a smooth, polished surface.
By following these simple maintenance tips, your freestanding bathtub will remain a luxurious centerpiece in your bathroom, providing relaxation and comfort every time you use it.
Next, let's address some frequently asked questions about freestanding bathtub installation.
Frequently Asked Questions about Freestanding Bathtub Installation
How much does it cost to install a freestanding bathtub?
The cost of installing a freestanding bathtub can vary widely. On average, you might spend anywhere from $1,000 to over $3,000. This range depends on several factors:
- Style and Materials: A simple soaker tub made from acrylic might be on the lower end of the scale. If you choose high-end materials like cast-iron or a tub with additional features like hydrotherapy jets, expect to pay more.
- Plumbing Adjustments: If your bathroom requires significant plumbing adjustments, such as relocating pipes or installing a new drain line, this can increase your costs. Consulting with a professional can help you understand these potential expenses.
What holds a freestanding tub in place?
Freestanding tubs are held in place using a combination of methods to ensure they remain stable:
- Silicone-Based Caulk Adhesive: This adhesive is applied to the bottom of the tub and the floor to secure the tub in place. It's flexible yet strong enough to keep the tub from shifting.
- Silicone Lubricant: Applying a silicone lubricant around the edges of the tub can help prevent any tilting or movement, especially on slick surfaces.
Is it hard to install a freestanding tub?
Installing a freestanding tub can be challenging but manageable with the right preparation:
- Access from Below: If you have access to the plumbing from below the floor, it can simplify the installation. This access allows for easier adjustments and connections to existing plumbing.
- Floor Mounted Tub Fillers: These are often used with freestanding tubs and require precise installation. Ensuring they are correctly aligned and secured is crucial for both aesthetics and functionality.
While installing a freestanding tub might seem daunting, following a detailed guide and ensuring you have the right tools and materials can make the process smoother. If in doubt, hiring a professional can save time and prevent costly mistakes.
Ready to take the plunge? Let's move on to our concluding thoughts on freestanding bathtub installations.
Conclusion
Transform Your Bathroom with Accountable Home Remodeling
At Accountable Home Remodeling, we believe every bathroom should be a sanctuary. Our team, based in the Denver Metro Area, is dedicated to turning your vision into reality with our high-quality, personalized designs. Whether you dream of a sleek modern space or a spa-inspired retreat, we are here to make it happen.
Why Choose Us?
- Quality Craftsmanship: We use only the best materials to ensure your bathroom is not just beautiful but also durable. Our attention to detail guarantees a flawless finish every time.
- Personalized Designs: We understand that every homeowner is unique. That's why we offer custom designs custom to your style and needs. From luxurious countertops to stylish tiles, we bring your ideas to life.
- Transparent Communication: Remodeling can be stressful, but it doesn't have to be. We prioritize clear and open communication at every step, ensuring a seamless and rewarding experience.
Freestanding Bathtub Installation Made Easy
Installing a freestanding bathtub can lift your bathroom's aesthetics and functionality. With our expert guidance and commitment to excellence, you can enjoy a hassle-free installation process. Our team manages everything, from plumbing to final touches, ensuring your tub is perfectly placed and ready for relaxation.
Explore our bathroom renovation services to learn more about how we can help you create the bathroom of your dreams.
Contact Us Today!
Ready to transform your bathroom? Whether you're in Broomfield, Westminster, Thornton, or any other location in the Denver Metro Area, we are here to help. Reach out to us to schedule a consultation and take the first step toward a beautifully remodeled bathroom.